Showing posts with label El Cheap-O Shirt Challenge. Show all posts

Wednesday, May 26, 2010

Ruffle Corsage Tank

I love these fun ruffled shirts.  I've seen different tutorials all over blogland for them and I've modified the way I make them just a bit, but I just love how cute and feminine it makes a boring old shirt.  Here is my little Brynlee modeling her new shirt.  I found the tank at Target for $2, then added the knit ruffles/flowers to the neckline.  I also have one more plain white corsage Tee left from the Festival last weekend...it's on sale in the SHOP. 


ps.  did you notice I got a new camera?  It's a Canon Rebel T1i.  I. Love. It. 


giveaways

Monday, April 12, 2010

Spring Time Ruffle Tank

Here's my tutorial that was shared last week on Someday Crafts...thanks again Michelle!  This is the perfect little ruffly tank to welcome in the warm weather...and it's super easy to make too! 
 Happy Spring!


Spring Time Ruffle Tank
supplies needed:  tank top, 3" gathered ruffle lace, fray check, sewing essentials (machine, scissors, thread, etc), embellishments (fabric, lace, ribbon, etc)

1.)  I used a size 4T tank top and 3" lace.  You can use whatever size tank and lace you want to, you'll just need to adjust it accordingly.  Lay your shirt down and lay the lace across the bottom so the bottom of the lace lines up with the bottom of the shirt.  I layed the shirt on my rotary cutting mat so I could line the bottom edge with a line on the mat.

2.) Draw a line with a vanishing fabric pen at the top of where your lace was.  Make sure to make the line straight by using the lines on your mat.

3.) Draw the remaining lines on the shirt.  You'll want the lace to overlap about 1" and you'll want the last strip of lace to be at the neck of the tank.  The measurements for how far apart your lines will be depends on how long your tank is and how wide your lace is. 

4.) Once you have all your lines drawn on your tank, take the tank and the lace over to your sewing machine to sew the lace on.  Starting with the bottom, sew a strip of lace onto the shirt lining up the top edge of the lace with the line you drew on the shirt.  Make sure you secure your stitching with back-stitches at the beginning and end of the lace.  When you get to the end of the row, just cut the lace and finish stitching it to the shirt. 


5.) Continue sewing the lace on in this manner all the way up to the top of the shirt.

6.)  When you get to the neckline of the tank, sew the lace on following the curve around the neck.  Once you have all the lace sewn on, go back and put Fray Check on all the ends of lace to keep it from fraying.

7.) Embellish your tank with bows, ribbon, flowers, rossettes, buttons....or whatever you want!

And you're done!  Now, bring on the good weather...we're ready!

Thanks again Michelle for having me today!  For more fun tutorials, come check out my blog anytime!  Happy Spring!

Sunday, April 4, 2010

Check me out on Someday Crafts!

Photobucket
I'm doing a guest post over at one of my favorite blogs, Someday Crafts!  I'm super excited to be over there!!  I've been good bloggy friends with Michelle for a while now and I absolutely love checking her blog for all the new ideas on there!  She has new things every day...sometimes even more than every day!  Thanks Michelle for having me and if you want to learn how to make this Spring Ruffle Tank, go check out my tutorial at Someday Crafts!


Sunday, February 7, 2010

I told you I have a problem

I have the HARDEST time walking away from shirts that are $2 or less! I'm not even a big shopper, but I can't seem to step away from a plain cheap tee. It's just waiting for something to be done to it! You can see from the picture that I gave in to my addiction this past week at Target.
But, how can I not buy all these cute tee's for super cheap! Especially since my friend, Tami, and I are planning on being vendor's for a big street festival in a few months. I'll use them right?  Now I just need to think of what I want to do with them...hmmmmm.  I can't wait to try some new ideas.  Here's some inspiration from our linky party, El Cheap-O Shirt Challenge.  You guys have amazing ideas, keep 'em coming!

Twirly Tee Tutu

Flower Applique

Candy Shirt


Tuesday, January 19, 2010

RTT - Easy Butterfly & Flower Tutorial

This is the blog swap tutorial I did with I Make Stuff last week.  It's a quick and easy applique for another one of my dollar shirts.  I'm loving seeing all your ideas for the El Cheap-O Shirt Challenge....you all have AWESOME ideas! 
Keep 'em coming and link 'em up here!
Here's another one to add to the list!


Easy Butterfly and Flower Applique Tee

Supplies: T-shirt, knit scraps (you can use old t-shirts), Wonder Under, 4 buttons, embroidery floss, sewing essentials (machine, thread, scissors, etc)

1.) Iron an 8"x8" piece of Wonder Under onto the back of the scrap of knit fabric for the butterfly wings. You will also need another approximately 8"x8" piece of Wonder Under ironed to either the same knit fabric or a different one for the flower, depending on whether you want the flower the same color as the butterfly or not.

2.) From that fabric, cut two large hearts (approx 2" tall) and two small hearts (approx 1 1/2" tall) for the butterfly wings. You can free-hand it or print out one from on-line to copy.

3.) Also cut out three flower shapes, one small, medium, and large. The large one will be about 3"x3". I just freehanded a little fluffy flower, but you could print one out to copy.

4.) To make the little "loopy trail" from the flower to the butterfly, you will need to do a running stitch with a needle and embroidery floss. Start at the bottom in the middle of where you plan to place your flower. Make sure to have the knot from the floss on the OUTSIDE of the shirt, b/c this will be covered later by the flower. Do a running stitch from the bottom left corner to the upper right side of the shirt. Make sure to put a few loops in there too. When you get to where you want the butterfly to be make sure to stitch a two little antenna for your butterfly. Then end the stitching in the middle of where the butterfly will be with a knot on the outside of the shirt. This is a really long explanation...it's really just simple stitching :)

5.) Peel the paper back off the hearts and iron them on over the knot on the right upper part of the shirt. Put the two larger hearts down first with the two points touching (just below the antenna), then put the small hearts directly over them. Iron them down well.

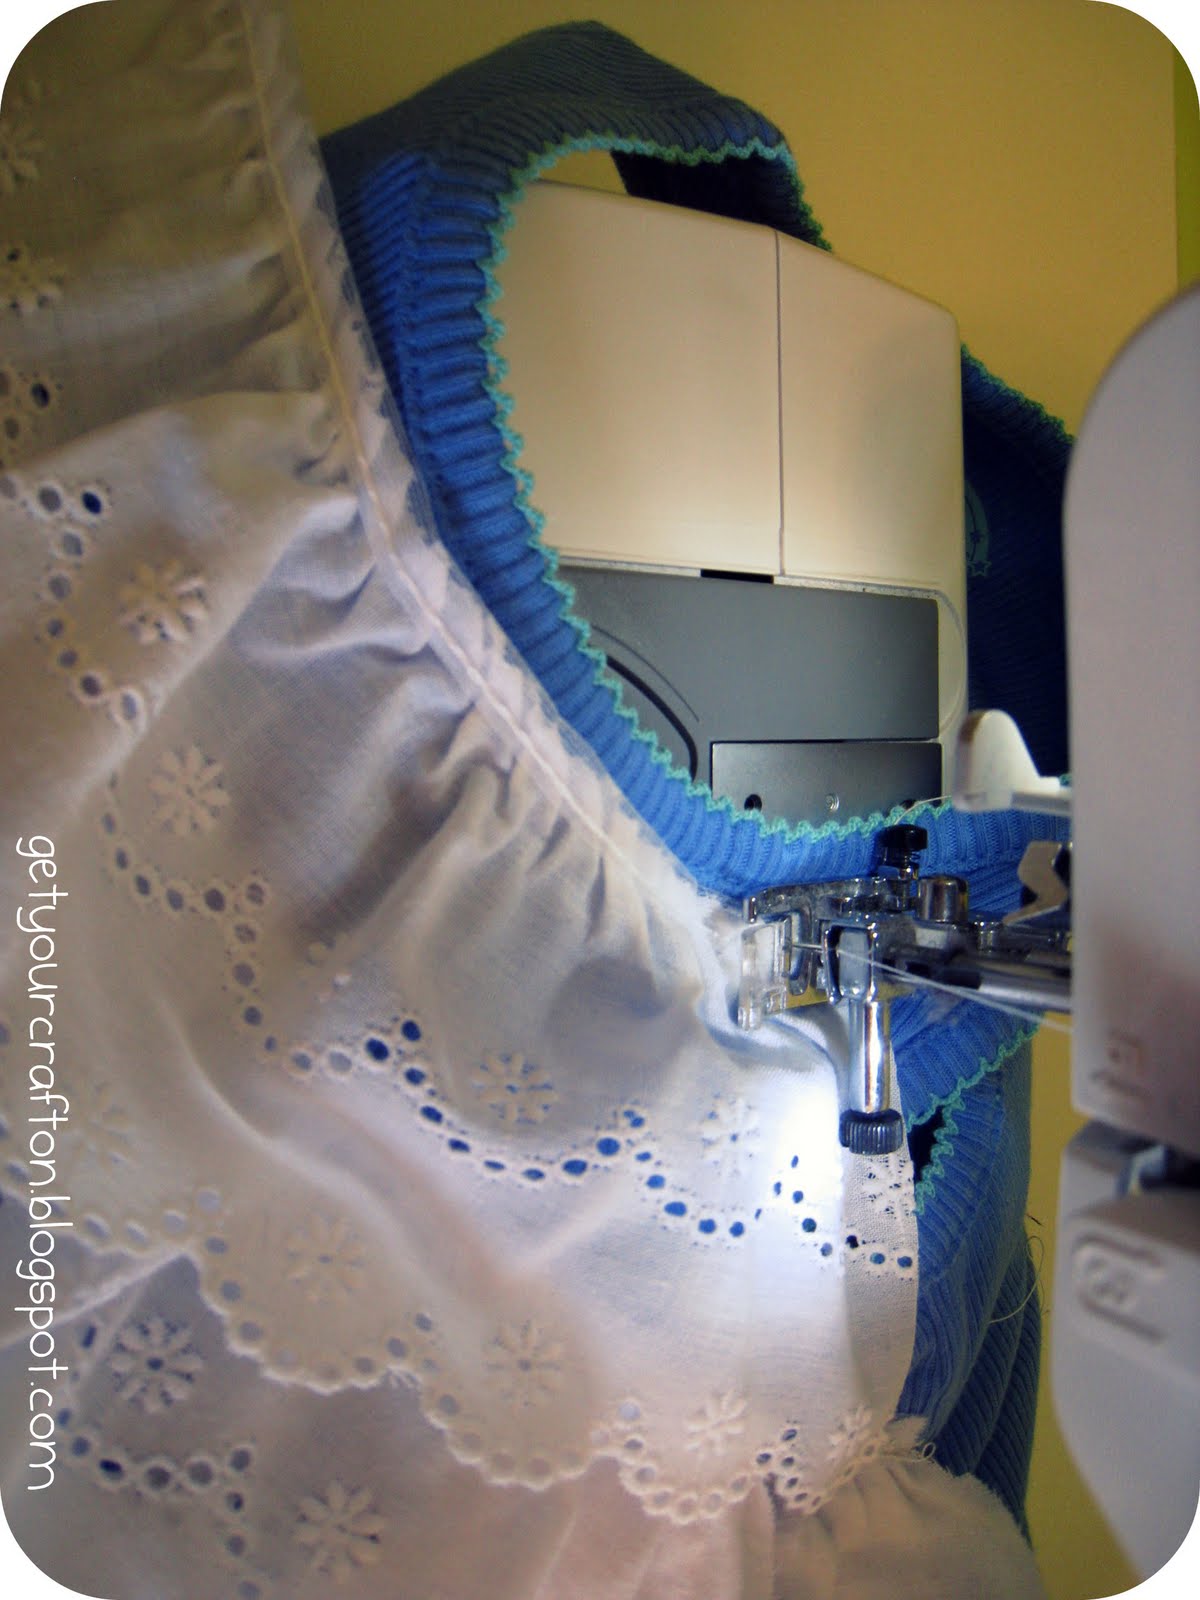
6.) On your sewing machine, stitch an "X" through the butterfly wings. The wings won't fray b/c they are knit.
7.) Peel the paper back off the flowers and iron them on, larger one first, over the knot at the bottom left part of the shirt. With your sewing machine, stitch around the outline of the 3 flowers.

8.) Sew a button to the middle of the flower. Sew 3 buttons down the middle of the butterfly wings to make the "body". Make sure the antenna are poking up from the top button.

And you're done! Quick and easy and super cute!! Come check out the other El Cheap-O shirts at Get Your Craft On...and remember to link up what you've got!


Tuesday, January 5, 2010

RTT - Another Ruffle Shirt Tutorial

Here's another entry for the El Cheap-O Shirt Challenge.  I found this cream colored long-sleeved thermal shirt at the Dollar Tree and of course I just had to buy it b/c it was only a buck!


  I decided to give it some ruffles similar to a shirt of my own.  Here's what I came up with:


And here's how you can make one too:


Ruffle Shirt Tutorial

supplies: shirt, scrap knit fabric, buttons, sewing essentials (machine, thread, etc)
1.) Cut a 2" strip from the width of your knit fabric.  Knit fabric works best b/c you don't need to finish the edge and it won't fray.


2.) Gather this strip.  I like to put my machine on the highest stitch length and highest tension, this will automatically gather it for you and you can adjust as needed.  Stitch close to one side of the length of the strip.


3.)  Pin center of ruffle to back of neck.  Continue pinning ruffle around collar of t-shirt and curve down onto front of shirt.  Leave about a 1-2" space in between ruffles on front of shirt.

4.)  Stitch ruffle on to shirt.  It works best to use a stretch stitch or zig-zag stitch on this part since it will still need to stretch over child's head.


5.) Cut out approx. 11" x 3 1/2" rectangle out of knit fabric.


6.) Gather the rectangle by sewing straight down the center length-wise and gathering the same way you did with the ruffle. Gather rectangle until it fits right under the collar and ends where the other gathered strip ends.


7.)  Sew rectangle ruffle down the center to the shirt.


8.) Sew on buttons.  You can go crazy here if you want.  I just did 3 buttons, but I think it would be fun to add a random assortment of a similar color.


You're done!  If you try out this tutorial, I would love to see a picture of your finished product...please email me or add it to the "El Cheap-O Shirt Challenge" MckLinky party...thanks!

  Here are some out-takes from the photoshoot with my little model...she actually wanted to have
her picture taken this time!


The Girl Creative


BCD Show and tell


giveaways