Showing posts with label Sewing for the Home. Show all posts

Monday, December 20, 2010

Sweet Dreams

I wanted to make one more thing for my kiddos for Christmas (can you believe it's only a few days away!), so I decided to do personalized pillowcases. I bought some cute LDS fabric over a year ago when I was out in Utah and I thought it would be perfect for this project.  It has temples on it and says "I love to see the Temple".   And it's flannel, so it will be soft for them to sleep on.  I personalized the pillowcases with their name appliqued on white flannel.  I love the way they turned out. 
I hope my kids like them too!


Friday, December 17, 2010

Pennant Banner Tutorial

Remember this banner?

Well, I decided I needed a Christmas version as well. Then I decided everyone in my family needed one too...so I made 12! They're quick and easy to make...and pretty cute (this one would be cuter, if I had ironed it before hanging it up...oops!).


Here's a tutorial on how to make one for yourself. You can make one for anything! I think a "Happy Birthday" banner is next up on my list.


Pennant Banner Tutorial

Materials Needed: fabric, felt, Wonder Under, x-large ric rac or binding, sewing basics (sewing machine, thread, scissors, etc.), glue gun and glue sticks


1.) Cut 9” squares out of selected fabric(s). Each square will give you 2 triangles. Cut enough squares to yield enough triangles for your banner’s saying.

2.) Cut square in half diagonally. Then cut across one more time to make the base of the triangle, leaving both long sides of equal length.

3.) For the words, print out saying in desired font and size on computer. Print out in mirror image if possible. If the letters are not mirror image, you will want to trace letters onto the Wonder Under from the backside of your print out (letters will be backwards).

4.) Trace letters onto paper side of Wonder Under.

5.) Following Wonder Under instructions, iron Wonder Under onto wrong side of fabric/felt.

6.) Cut out letters.

7.) Peel off paper backing and iron letters onto triangles. Letters should be placed so the triangle base is at the top.

8.) Sew or glue triangles onto ric rac or binding, making sure to overlap triangle bases 2” at the top.

9.) You can fold over ric rac or binding a few inches at the beginning and end of banner to make a little “tab” to hang banner.

10.) You can use spray starch on your banner to stiffen the fabric slightly.


Wednesday, December 1, 2010

Baby Nursery on the Cheap!

Only about 7 more weeks till my due date...yikes!  I'm super excited to see this little guy, but yet I know that he is so much easier to take care of inside my belly than out, so I'm happy to keep him there for a little while.  But, I better get things ready in the meantime, right?  So, I worked on the baby's nursery.  I didn't want to go "all out" yet and paint the whole thing and totally deck it out, so I opted for some simple, inexpensive decorating ideas instead.  The theme is basically "bold colors" and I'm pretty happy with how it turned out.  I hope our little boy likes it enough to sleep lots of hours in his crib :)
Here are a few BEFORE pictures.  Just plain boring.


And here are a few AFTER pictures.  I think it's definitely an improvement.

The crib.  The bumper is a inexpensive one from Target.  Then I added some colorful ribbon onto the bottom of a white crib skirt.


The Clothes-line.  I made a sweet, simple clothes-line with baby clothes on it using THIS tutorial. 


Paper Pinwheel Art.  Simple and cheep...my two favorite things!  I love how the pinwheels add a splash of color to an other wise boring wall.


Martha's Tissue Pom-Poms.  So fun...I could put these all over my house!


The lamp.  I just added a bunch of ribbon to this boring lamp...and now it's not so boring!


And a few other touches.  Some dark navy curtains (these totally darken the room, I hope that helps baby sleep :), a bright yellow clock, a little "I am a child of God" board, and a rocking chair with my favorite quilt.  I think the room is ready!  Does that mean I'm ready too...we'll see!


Friday, October 1, 2010

Happy October 1st!!

I love fall!  I happily welcome the cool weather and fun holidays!  We decorated our house a bit to make it feel a little more like fall...or Halloween.  My kids can't wait for Halloween!  I made a simple Trick-or-Treat banner for the mantel and I love the way it turned out.  Happy October!


Friday, September 24, 2010

Carson's Bedroom Tour

I finally took pictures of Carson's bedroom makeover. We actually finished his room this past winter, but never got around to taking any pictures...whoops! We painted his room in between two super huge snowstorms, where we were trapped in our house for a couple days. I love the way the stripes turned out. Hopefully it is mature enough to last him several years! The bedding and accessories were a "room in a bag" from Bed, Bath & Beyond. We also had some of the decorations already from his room in our old house. This was an easy decorating job, but I'm still super pleased with how it turned out.


Thursday, September 23, 2010

Brynlee's Bedroom Tour

I had such a fun time transforming our boring white walled spare room to a precious pink little girl room for my daughter's third birthday. Since we'll need the nursery in a few months for the baby (oh, by the way...it's a BOY!), we decided to make a special room for Brynlee to move in to. Here is a tour of Brynlee's PINK room!


Before. Just boring, nothing special.


After! Totally pink with white accents. I love it! If she won't sleep in it...I definitely will!
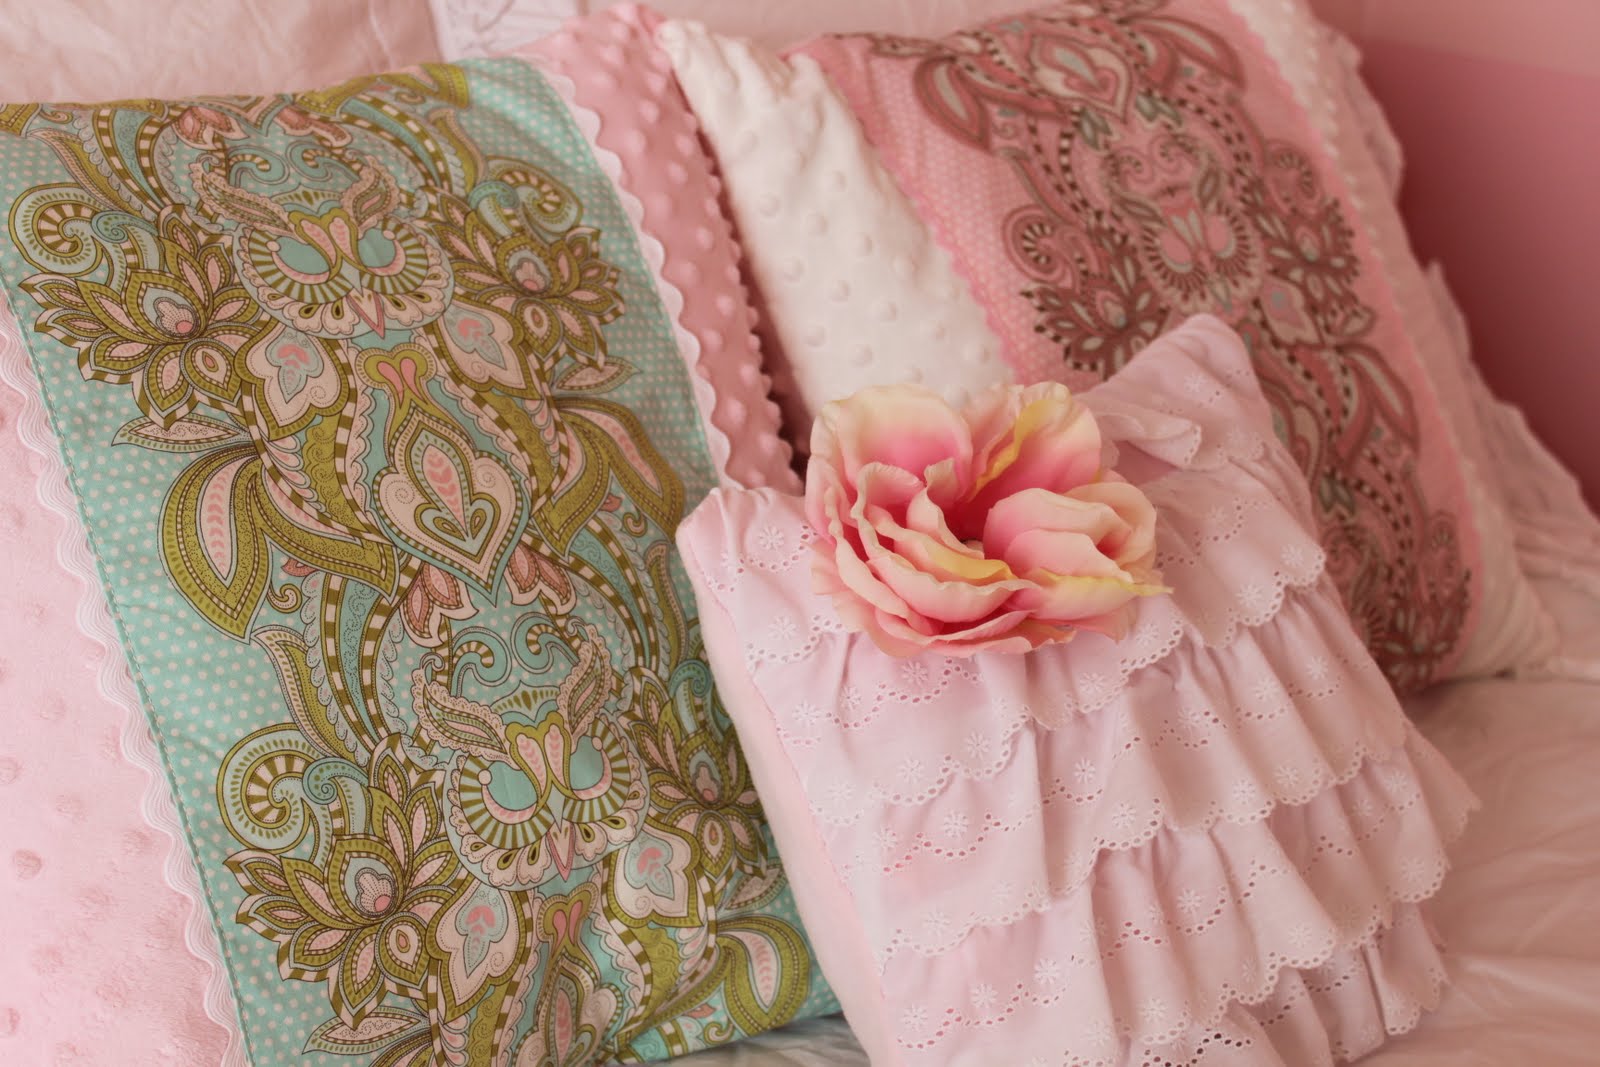
The bed.  I found this sweet shabby chic comforter at Target for half off..yeah!  And I had to get the pink tutu bed skirt!  I added my own touch of color with the pillows I made.  And the horse was $3 at a garage sale...she loves the horse! 


Above the bed I put three white frames (Target clearance) with three separate "pictures" inside that I made.  The first is a ballerina leotard with a fru-fru tutu.  The second is a flower with a pearl center.  The third is a fabric silhouette of Bryn...with a little hairbow of course!

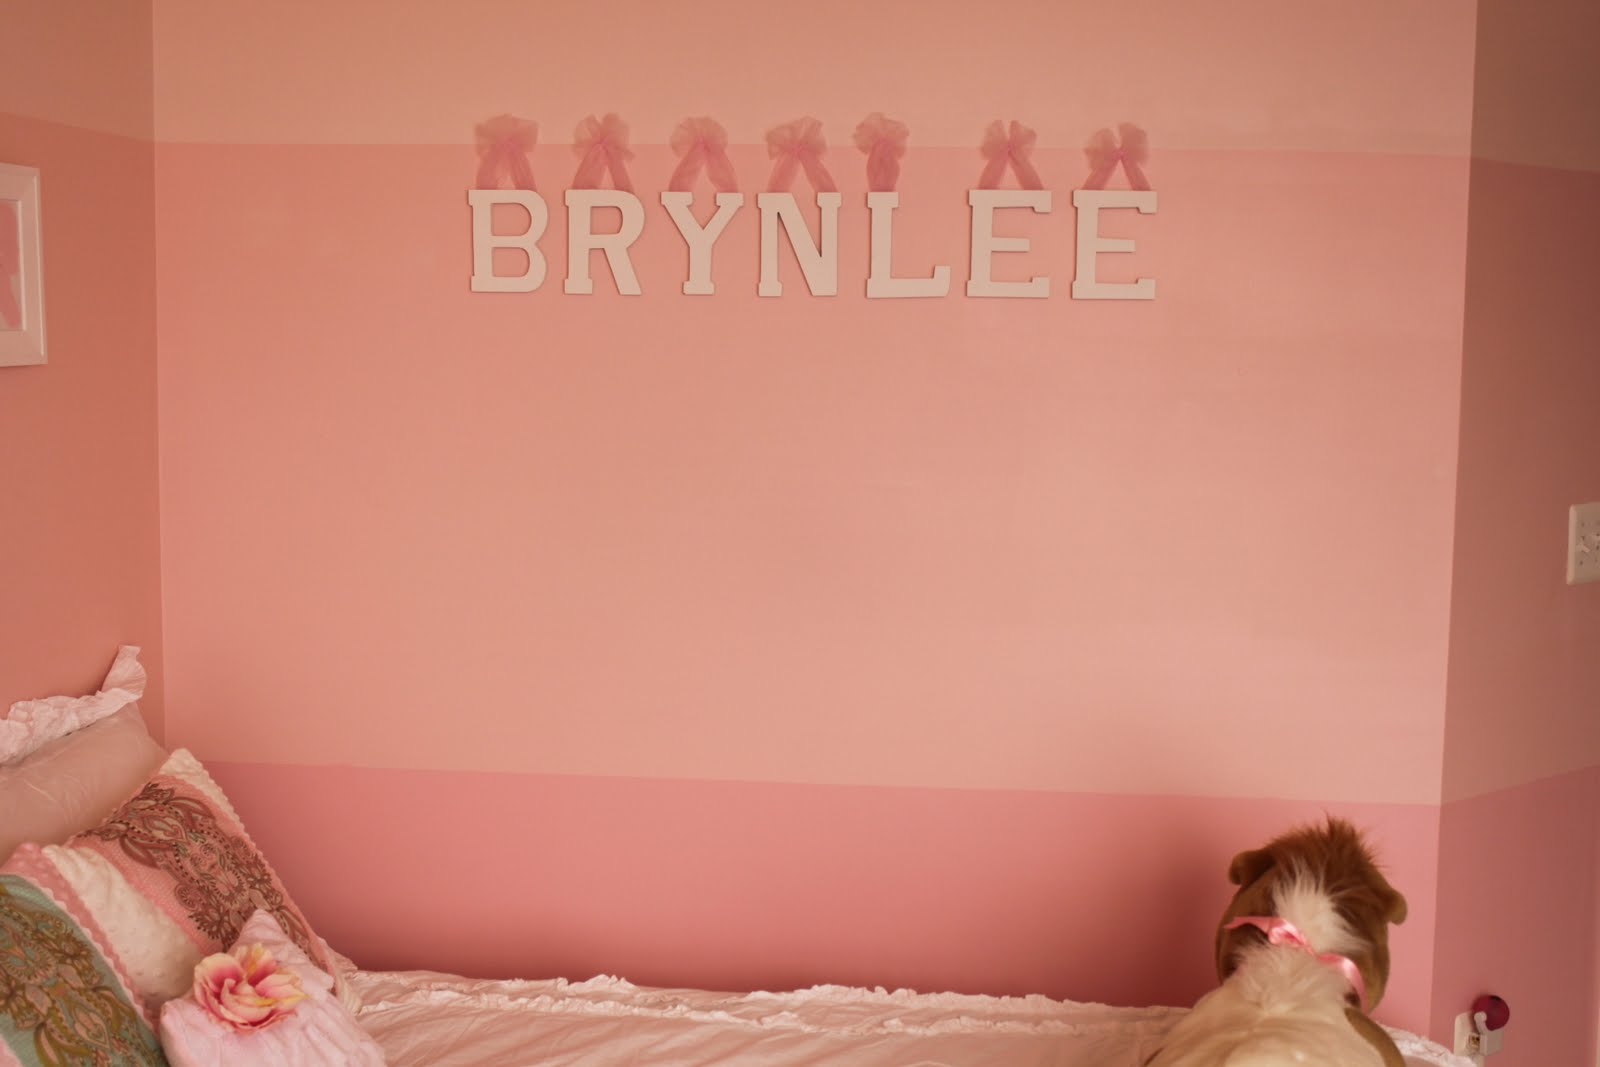
On the wall next to her bed I put her name with wooden letters and tulle. 
The dresser I also found at a garage sale (it seems like everything was either found at Target or a garage sale).  I loved the white color and girly mirror.  Of course, I couldn't pass up the pink princess pig (Target) and the chandelier (Ikea) was a must for my little girl's room.  The chandelier was only $40...good price and perfect touch to a girly room!  I made an easy peasy cover for the ugly cord and chain.


The window in the room has simple white tab top curtains (Bed, Bath, & Beyond) and a pennant banner I made to match the pillows on the bed.  I love pennant banners!  They are a super simple way to decorate a room.


The other side of the room has a bookshelf (Ikea), toy box (Target), and a Doll house (garage sale).  Brynlee loves the doll house and has been playing with it ever since.  I was especially excited about the old window and wreath I made to decorate that large wall.  My sister in law found the old windows last year and I've been just waiting for the perfect way to use them ( I still have one more!).  I love the look of the window on the wall even though my husband still doesn't understand it.  I got the idea and tutorial for the wreath at House of Smith's blog.  It was super easy, but a little time consuming.  I also put small pearls in the middle of each rosette.  I am soo happy with how it turned out! 


And that concludes our tour of Brynlee's new bedroom.  What do you think?

Thursday, September 2, 2010

CTR Towel

My friend's daughter got baptized on Saturday and I just couldn't resist trying out this fun towel tutorial. It was just what I like in tutorials...quick and easy and super cute! I'm sure I'll make more of these in the future!